 .
.Basic Operation
Connecting the Power Cable
-
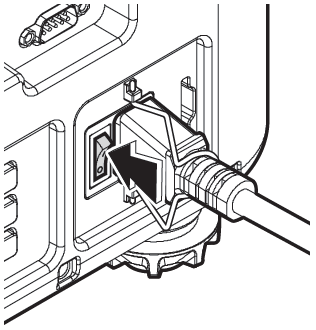
Connect the supplied power cable to the projector and plug it into a power outlet.
The cable is secure when you feel the tabs on the cable lock snap into place.
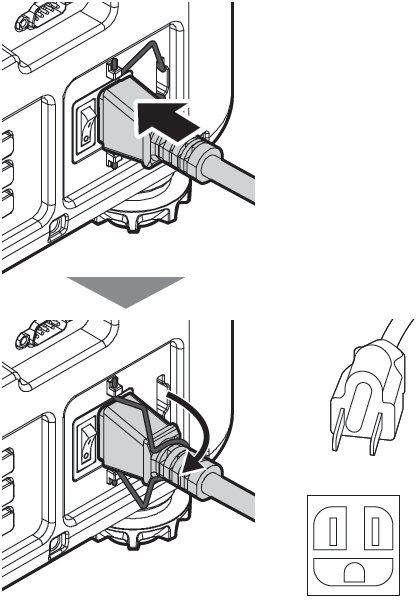
Use a three-pin socket.
bTIP: THE CABLE LOCK
To prevent the power cable being disconnected, secure it to the projector using the supplied cable lock.
dCAUTIONS
Use the supplied power cable only. In addition, note that supplied power cable is for use exclusively with this product. Do not use the power cable with any other device or the projector with any other power cable.
Turning the Projector On
-
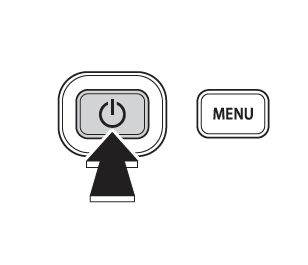
Turn the power switch on. The projector will switch to standby mode. The indicator lamps will light or flash red.
-
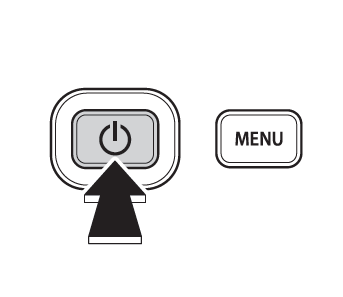
Press the power button to turn the projector on. The indicator lamps will light green. Projection will start after a brief pause.
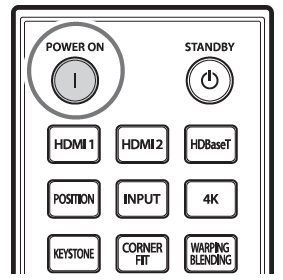
Remote Control
Projector
dCAUTIONS
Do not look directly into the lens while the projector is on.
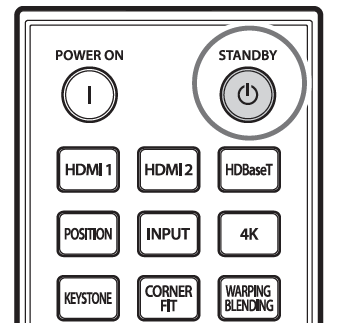
Switching to Standby
Pressing the power button while the projector is on displays a confirmation dialog. Press the button again to switch the projector to standby. The cooling fan will turn off a few seconds later.
Remote control
Projector