 .
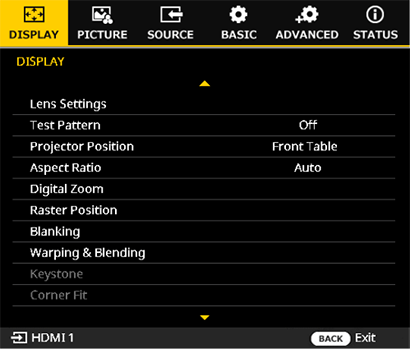
.DISPLAY
Adjust projector display settings.
Lens Settings
Adjust lens-related settings.
Highlight the desired lens setting and press ENTER to display options.
| Item | Description |
|---|---|
| Lens Shift | Adjust the position of the projected image using lens shift. |
| Lens Shift Settings | Adjust lens shift settings. |
| Lens Shift Memory | Save lens shift configuration. |
| Lens Motor Lock | Lock or unlock lens motor. |
| Focus 1 | Adjust focus for the entire image. |
| Focus 2 | Adjust focus at the edges of the image. |
| Zoom | Adjust the size of the projected image. |
 Lens Shift
"Press ENTER to display the lens shift dialogand use the selector (up, down, left, and right)to position the image."
The image can be shifted vertically (V) by up to70% and horizontally (H) by up to 35%.
Lens Shift Settings
Adjust lens shift settings.
Press ENTER to display options and then select the desired item.
Shift area
Choose how much the lens can be shifted.
| Options | |
|---|---|
| Limited | Full |
-
Limited: Lens shift is restricted, preventing any portion of the image being eclipsed.
A Lens centered
B Image shifted down and to the left: entire image visible
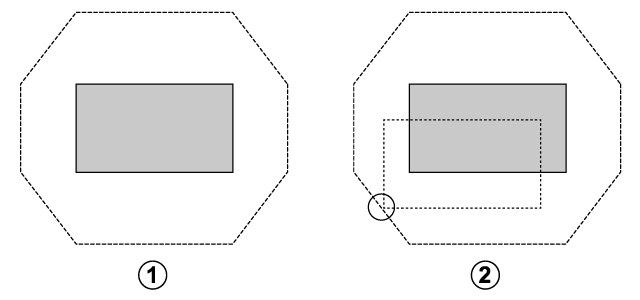
-
Full: The lens can be shifted throughout its range.
A Lens centered
B Image shifted down and to the left: bottom left corner of image not visible
Home Position
Return the lens to the home position.
Pressing ENTER displays a prompt asking whether you wish to return the lens to the home shift position.
Press OK to start lens shift. Do not perform any other operations until the projector displays a message stating that reset is complete.
Calibration
Perform lens calibration. When the procedure is complete, you are prompted to clear all lens memory.
Lens Shift Memory
Save up to five lens settings.
Press ENTER to display options and then select the desired item.
- Choose Select Memory and press ENTER. Choose the memory record from Memory 1 to Memory 5 based on your needs.
- Select any of the following items:
- Load: Load lens settings from the selected memory record.
- Save: Save lens settings to the selected memory record.
- Clear: Reset the settings of the selected memory record to the default values.
- Select All Clear to reset all the memory records to the default values.
bMEMO
- The lens can also be returned to the home position by holding the SHIFT button on the remote control for over three seconds.
Lens Motor Lock
Lock or unlock lens motor.
| Options | Description |
|---|---|
| Lock | Lens cannot be adjusted. |
| Unlock | Lens can be adjusted. |
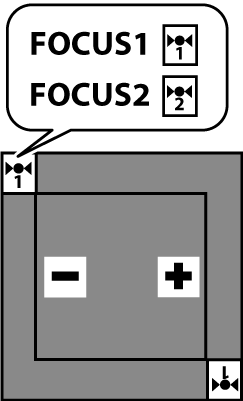
 Focus 1 /
  Focus 2
Adjust focus.
Press ENTER to display the focus dialog and use the selector (left or right ) to adjust focus.
- FOCUS1: Adjusts the optical axis center of the image.
- FOCUS 2: Adjusts the periphery of the image.
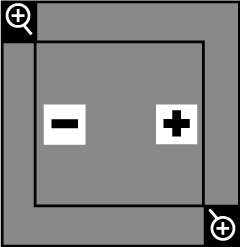
 ZOOM
ZOOM
Adjust the size of the projected image.
"Press ENTER to display the zoom dialog and use the selector (up, down, left, and right) toadjust the size of the projected image."
Select “−” to make the image smaller, “+” to make it larger.
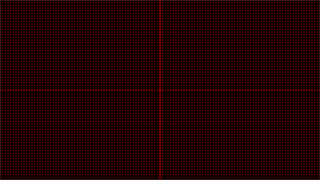
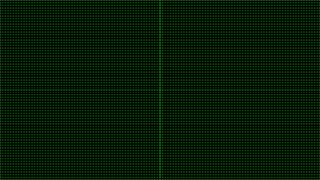
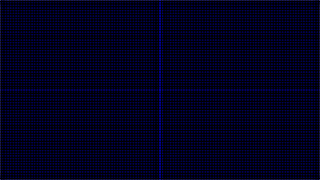
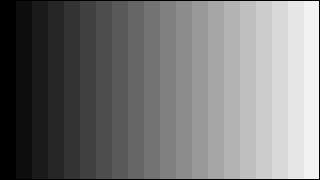
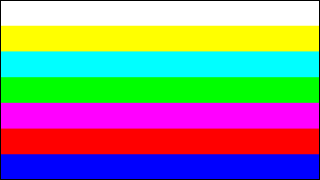
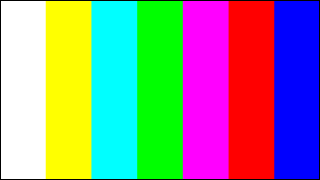
TEST PATTERN
Choose a grid or other test pattern for display during installation.
| Options | ||||||||||||||||
|---|---|---|---|---|---|---|---|---|---|---|---|---|---|---|---|---|
| Off | 1 | 2 | 3 | 4 | 5 | 6 | 7 | 8 | 9 | 10 | 11 | 12 | 13 | 14 | 15 | 16 |
Test Pattern 1

Test Pattern 2
Test Pattern 3
Test Pattern 4
Test Pattern 5

Test Pattern 6
Test Pattern 7
Test Pattern 8
Test Pattern 9

Test Pattern 10

Test Pattern 11

Test Pattern 12

Test Pattern 13

Test Pattern 14

Test Pattern 15

Test Pattern 16

bTIP
To temporarily hide the menu screen while the test pattern is displayed, press the ON SCREEN button on the remote control. Press the ON SCREEN button again to display the menu.
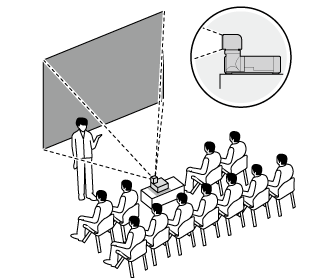
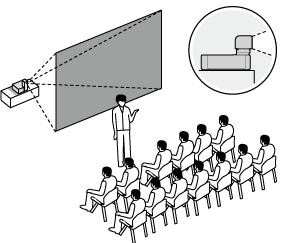
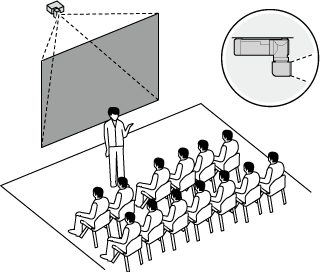
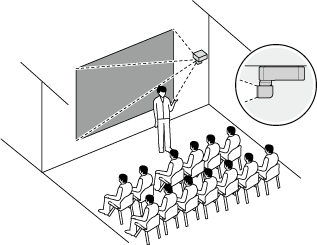
Projector Position
Position the beam according to the projector’s location.
| Options | |||
|---|---|---|---|
| Front Table | Rear Table | Rear Ceiling | Front Ceiling |
-
Front Table: Choose if the projector is on a table in front of the screen.
-
Rear Table: Choose if the projector is on a table behind the screen.
-
Rear Ceiling: Choose if the projector is suspended from the ceiling behind the screen.
-
Front Ceiling: Choose if the projector is suspended from the ceiling in front of the screen.
Aspect Ratio
Position the beam according to the projector’s location.
| Options | |||||
|---|---|---|---|---|---|
| Auto | Real | 4:3 | 16:10 | 16:9 | 21:9 |
bTIP
The setting for each input is stored separately.
Digital Zoom
Zoom the projected image in using digital zoom.
Highlight Digital Zoom in the DISPLAY menu and press ENTER to display options.
| Item | Description |
|---|---|
| Proportional | Resize the projected image proportionally. |
| Horizontal | Increase the horizontal magnification of the projected image. |
| Vertical | Increase the vertical magnification of the projected image. |
| Digital Shift | Shift the image digitally. |
| Reset | Reset digital zoom settings to the default values. |
Proportional
Set On to enable resizing the projected image proportionally or set Off to disable this function.
| Options | |
|---|---|
| On | Off |
Horizontal
Increase the horizontal magnification of the projected image.
| Options | |
|---|---|
| 50.00%~100.00%~400.00% | |
Vertical
Increase the vertical magnification of the projected image.
| Options | |
|---|---|
| 50.00%~100.00%~400.00% | |
Digital Shift
Shift the projected image digitally by increasing the horizontal and vertical magnification.
| Options | |
|---|---|
| Horizontal | 0.00~50.00~100.00 |
| Vertical | 0.00~50.00~100.00 |
Reset
Reset digital zoom settings to the default values.
| Options | |
|---|---|
| Cancel | Reset |
Raster Position
Input images that do not fill the display can be positioned as desired within the screen.
| Options | |
|---|---|
| Horizontal | Move the projected image up or down in the range of -1000~1000 pixels. |
| Vertical | Move the projected image up or down in the range of -600~600 pixels. |
| Reset | Choose Reset to restore the raster position to the default values. Select Reset again at the prompt and then Yes to confirm. |
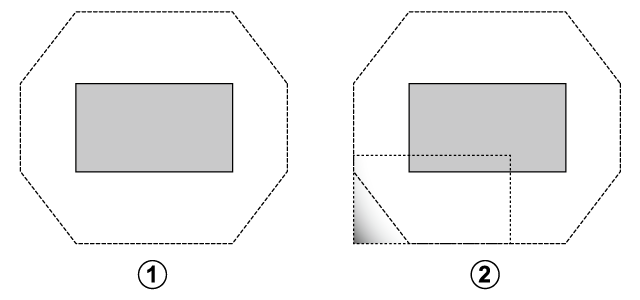
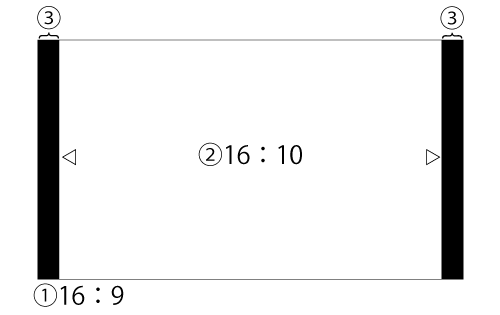
For example, image with an aspect ratio of 16:9 is displayed on a screen with an aspect ratio of 16:10.
① Display area aspect ratio is 16:10.
② Image aspect ratio is 16:9.
③ To remove the gaps between the display area and the projected image, press the selectors up and down (as illustrated below) to move the image vertically and fill the display area.
bTIP
The upper/lower limit depend on signal or aspect ratio.
Blanking
The screen margins can be adjusted vertically by 540 pixels and horizontally 1000 pixels.
| Item | |||
|---|---|---|---|
| Upper 540 pixels |
Lower 540 pixels |
Left 1000 pixels |
Right 1000 pixels |
Press the selector up or down to highlight the desired margin and press left or right to adjust.
![]()
Warping & Blending
Use the warping and blending feature for geometric correction (warping) and to blend the edges of images from multiple projectors.
Press ENTER to display options and then select the desired item.
Warping & Blending Setting
| Options | Description |
|---|---|
| Off | Disable warping and blending function. |
| On | Enable warping and blending function, then configure the following settings: grid points, warp inner, warp sharpness, grid color, grid background, and blend settings. |
| Application | Configure warping and blending settings using an app. |
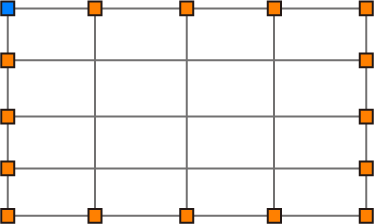
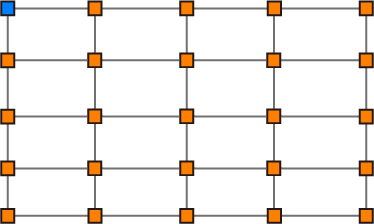
- Grid Points
Choose the number of grid squares available for selection.
| Item | ||||
|---|---|---|---|---|
| 2x2 | 3x3 | 5x5 | 9x9 | 17x17 |
5x5
|
|---|
- Warp Inner
Set On to add adjustment points inside the grid squares.
| Item | |
|---|---|
| On | Off |
- "Press the selector up, down, left, or right to highlight the desired grid point that you want to modify."
- Press the selector left or right to modify the desired grid point.
|
|---|
- Warp Sharpness
Adjust sharpness when warping.
| Item | |
|---|---|
| 0~19 | |
- Grid Color
Choose the grid color.
| Item | |||||
|---|---|---|---|---|---|
| White | Red | Green | Blue | Magenta | Cyan |
- Grid Background
Choose the grid background color.
| Item | |
|---|---|
| Black | Transparent |
- Blend Settings
Smooth the edges between the component images from each projector, seamlessly blending them into a single picture.
Press ENTER to display options and then select the desired item.
- Blend Width: Set the blend area width. "There are four options on blend width: up, down, left, and right." The adjusting unit is 4 pixels per step.
- Overlap Grid Number: Choose the number of grid lines per blend width from 4 / 6 / 8 / 10 / 12.
- Gamma: Choose the gamma value of the overlapped portions from 1.8 / -2.2 / -2.4. Overlapped portions become smooth. - Memory
Save up to five warping and blending settings.
Press ENTER to display options and then select the desired item.- Choose Select Memory and press ENTER. Choose the memory record from Memory 1 to Memory 5 based on your needs.
- Select any of the following items:
- Load: Load warping and blending settings from the selected memory record.
- Save: Save warping and blending settings to the selected memory record.
- Clear: Reset the settings of the selected memory record to the default values. - Select All Clear to reset all the memory records to the default values.
- Reset
To reset warping and blending settings to the default values, press ENTER and then choose Reset when prompted.
KEYSTONE
Use keystone compensation to correct “keystoning” and
make the sides of the projected image parallel the edges of the screen.
Press ENTER to display the keystone compensation dialog and use the selector (up, down, left, and right) to correct keystone distortion.
Negative values reduce the size of the projected image while positive values increase it.
| Axis | Range |
|---|---|
| Vertical (V) | -60~0~60 |
| Horizontal (H) | -60~0~60 |
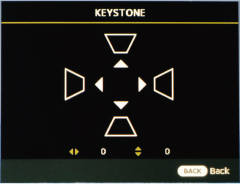
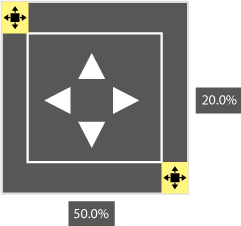
Corner Fit
Use keystone compensation to correct “keystoning” and make the sides of the projected image parallel the edges of the screen.
Position the corners of the projected image to correct distortion.
| Item | Range |
|---|---|
| Top Left | V: 0~80 |
| H: 0~ 120 | |
| Top Right | V: 0~80 |
| H: 0~ 120 | |
| Bottom Left | V: 0~80 |
| H: 0~ 120 | |
| Bottom Right | V: 0~80 |
| H: 0~ 120 |
-
Press ENTER to display corner fit settings.
-
Highlight a corner using the selector (up, down, left, and right) and press ENTER.
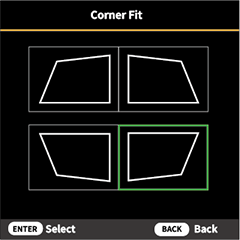
-
Position the corner horizontally and vertically.
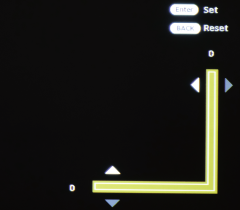
-
Position the corner horizontally and vertically.
Pincushion
Adjust the image with barrel or pincushion distortion.
| Item | Description |
|---|---|
| Horizontal | Correct the projected image with horizontal barrel or pincushion distortion. The range is from 0~100. |
| Vertical | Correct the projected image with vertical barrel or pincushion distortion. The range is from 0~100. |