 .
.Web Control
You can monitor and control this unit over a network using a web browser.
About Web Control Function
Using the web control function, the following operations can be performed from a PC.
- Projector settings and adjustments
- Saving and restoring projector configuration values
- Monitoring the projector status
- Sending email notifications in the event of a projector error
*Note: To use the email notification function, the projector must be connected to a network that can communicate with an email server.
How to Use Web Control Function
Preparing to Use Web Control Function
To use web control function, the following settings are required. Additionally, both the PC and the projector must be connected to a network that allows communication between them.
- Configure the aLAN settings so that the projector and PC can communicate with each other.
- If you want to use the web control function while the projector is in standby mode, set the aStandby Mode to Communication.
- Enable HTTP in the projector’s aLAN Control settings.
Accessing Web Control Function
-
Enter the projector's assigned IP address into the address bar of your web browser.

-
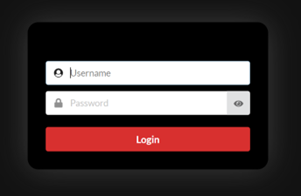
On the login screen, enter the username and password.
By default, the following two types of usernames are preconfigured.
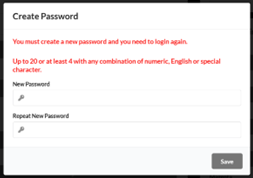
There is no password set in the initial state. -
When logging in for the first time, a password setup screen will appear.
Enter the desired password twice and click the SAVE button.
The login screen will appear again—enter the username and the password you just set. -
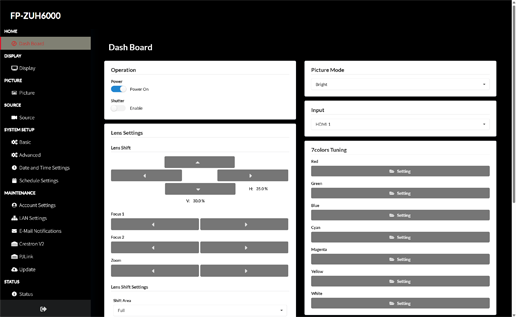
After a successful login, the web control screen will be displayed.
| admin | All web control functions are available. |
| user | Basic operations of the web control function are available. |
dCAUTIONS
The password you set will be deleted if you perform a reset or initialization from the projector’s menu under aSystem Settings: Basic / Reset Settings / Initialize.
Web Control Exclusive Functions
Uploading a Custom EDID
From the SOURCE section of the navigation menu, select Source.
Under EDID Settings, select Upload to upload a custom EDID file.
bTIPS
The file to be uploaded is EDID Block0/Block1 (256 byte) data.
Uploading a Custom Background Color
From the SYSTEM SETUP section of the navigation menu, select Basic.
Under Background Color, select Upload to upload a file.
The uploadable file must be a PNG image with dimensions of 3840×2160.
Backing Up and Restoring Settings
From the SYSTEM SETUP section of the navigation menu, select Advance.
To back up settings, select Backup under User Settings and download the configuration file.
To restore settings, select Restore under User Settings and upload the configuration file downloaded during backup.
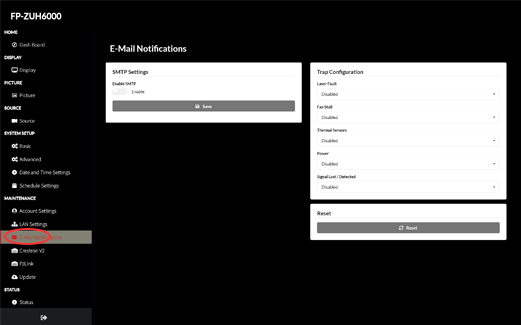
Email Notification Function
From the navigation menu under MAINTENANCE, select E-Mail Notifications.
Enter the required settings for notifications as shown on the screen.
An email server is required on a network that the projector can communicate with.
For detailed configuration, please contact your email server administrator.
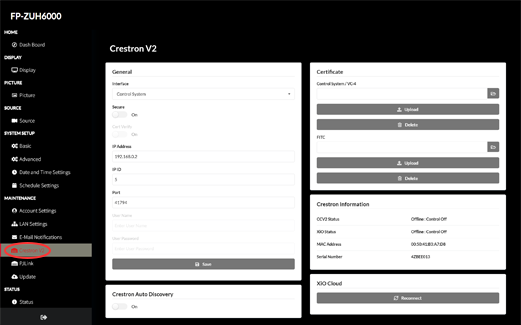
Crestron Connected® Settings
From the navigation menu under MAINTENANCE, select Crestron® V2.
Enter the required configuration values.
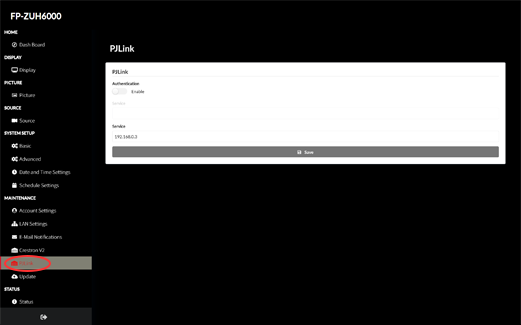
PJLink™ Settings
From the navigation menu under MAINTENANCE, select PJLink™.
Enter the required configuration values.
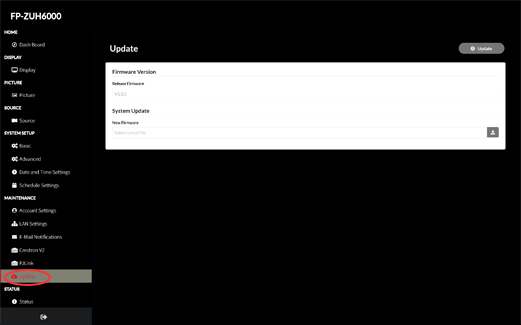
Firmware Update
-
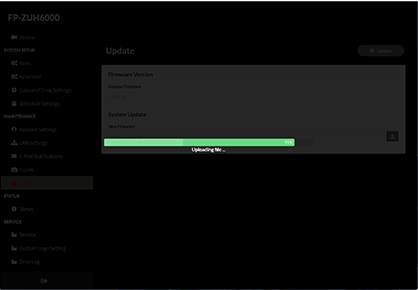
From the navigation menu under MAINTENANCE, select Update.
-
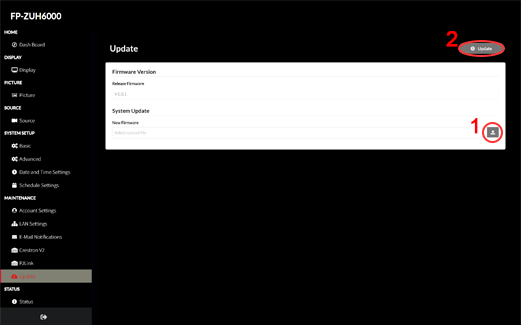
Specify the downloaded firmware file, then click the Update button in the upper right corner.
-
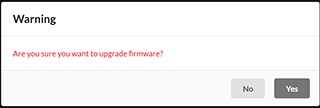
A confirmation screen for the firmware update will appear—click Yes to proceed.
-
If the update is successful, the projector will automatically restart.
dCAUTIONS
Firmware updates may take up to 20 minutes. Do not operate any menus during the update process.
Also, do not disconnect the projector’s power under any circumstances.