 .
.Positioning and Focusing the Image
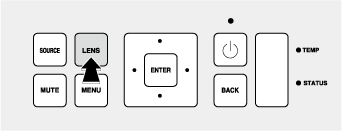
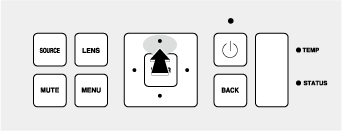
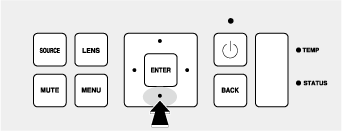
The chief tools for positioning and focusing the projected image (lens shift, focus, and zoom) can be accessed via the LENS button on the control panel. Projector positioning options can be accessed via the up button on the selector and keystone compensation options via the down button.
 Lens Shift
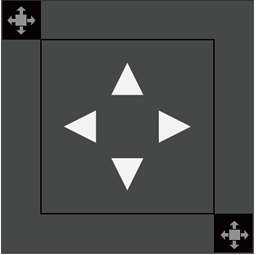
The position of the projected image can be adjusted using lens shift.
Before

After

-
Press the LENS button until lens shift settings are displayed.
-
Position the projected image using the selector (e/f/g/h).
-
Press BACK to exit.
bTIPS
- The selected shift position is stored when the lens is rotated.
- The previously-selected shift position is recalled when the lens latches.
 Focus
Focus
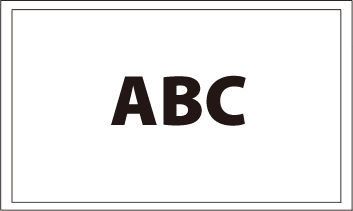
The sharpness of the projected image can be adjusted by focusing the projector.
Before

After
-
Press the LENS button until focus settings are displayed.
-
Adjust focus using the selector (e/f/g/h).
Adjust focus for a balance between the center and edges of the image.
-
Press BACK to exit.
 Zoom
Zoom
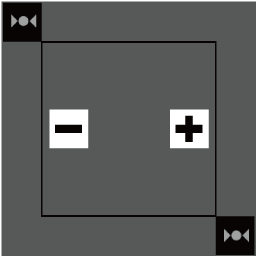
The size of the projected image can be adjusted using zoom.
Before
After
-
Press the LENS button until zoom settings are displayed.
-
Adjust the size of the projected image using the selector (e/f/g/h).
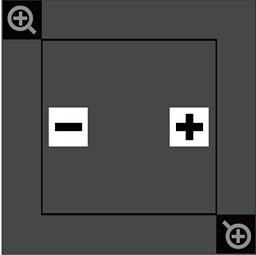
Select “−” to make the image smaller, “+” to make it larger.
-
Press BACK to exit.
Positioning
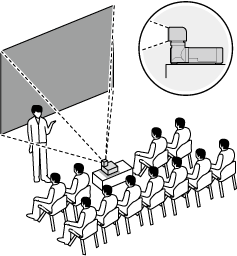
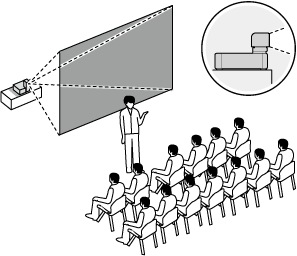
Choose an option according to the location of the projector and screen.
Press the selector up (e) to cycle through options as follows: Front Table, Rear Table, Rear Ceiling, and Front Ceiling.
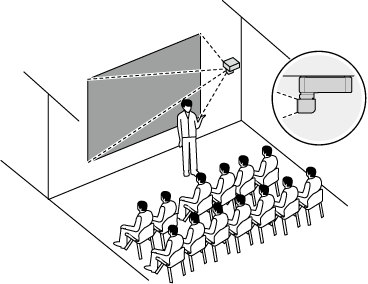
Front Table
Rear Table
Rear Ceiling
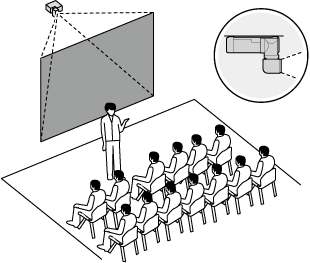
Front Ceiling
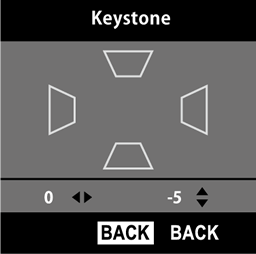
Keystone Compensation
“Keystoning” (where the sides of the projected image are not parallel with the edges of the screen) can be corrected using keystone compensation.
Before

After
-
Press the selector down (f) to display keystone settings.
-
Correct keystone distortion using the selector (e/f/g/h).
-
Press BACK to exit.