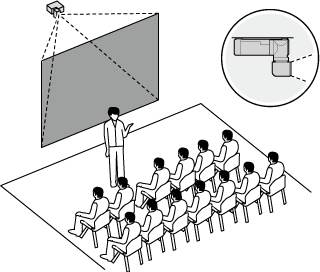
.
.Projection status adjustment
Press the “lens adjustment button” on the control panel or remote control to perform the main projection adjustments (Lens Shift, Focus, and Zoom) when installing the projector.
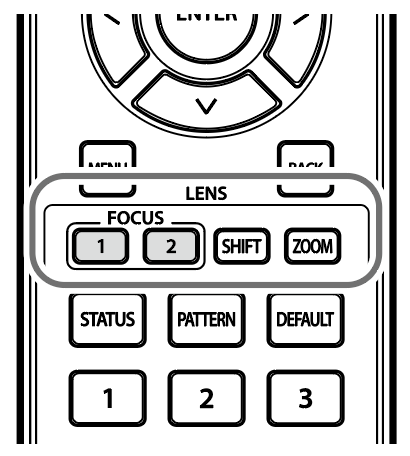
Remote control
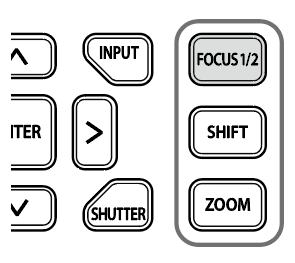
Main unit
Lens Shift Adjustment 
Adjusts the projected image position by shifting the lens optical axis (Lens Shift).
Before adjustment
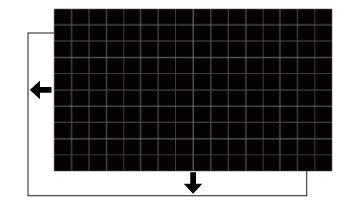
After adjustment
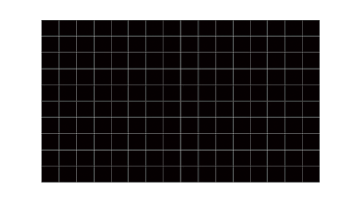
-
 : Press the SHIFT button.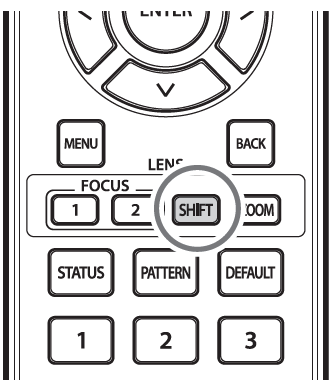
Remote control
 : Press the SHIFT button on the main unit control panel.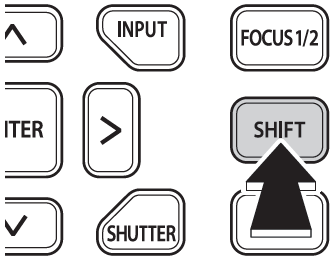
Main unit
-
Adjust the position of the projected image using the selector (up/down/left/right) buttons.
b Note
The values shown in % are reference values for the shift position.
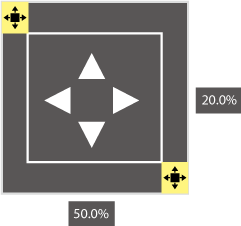
-
Press the BACK button to exit.
b Note
- Zoom adjustment can also be performed from the menu.
-
Press and hold the SHIFT button on the remote control for 3 seconds to display the calibration confirmation screen. When calibration is complete, the shift position returns to the Home Position.
- After adjusting the shift, the focus may be slightly out of alignment. Readjust the focus as necessary.
Focus adjustment 

Adjust the focus of the projected image. Display Test Pattern 1.
Before adjustment
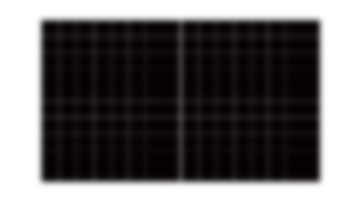
After adjustment
-
: Use the “FOCUS1” and “FOCUS2” buttons on the remote control.
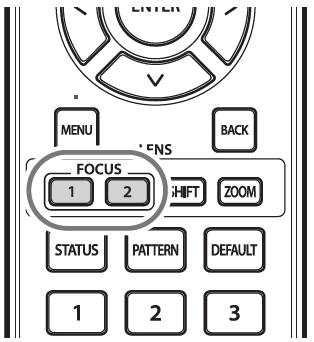
Remote control
: Use the “FOCUS1/2” buttons on the main unit control panel.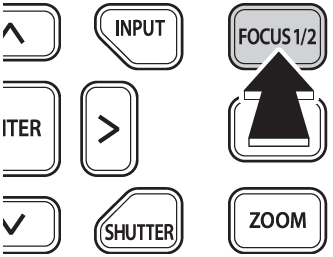
Main unit
-
Adjust the focus using the selector (left/right) buttons.
The icon representing the focus being adjusted (1 or 2) will change.
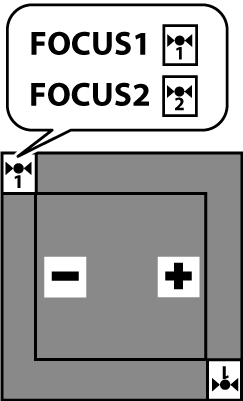
-
When you have finished the adjustment, press the BACK button to exit.
b Note
Focus adjustment can also be performed from the menu.
The FP-ZL034 projection lens is adjusted using FOCUS1 and FOCUS2.
For the FP-ZL050 / FP-ZL125 projection lens, use only FOCUS1 for adjustment.
Focus Adjustment
For the FP-ZL034
Adjust the focus using the FOCUS1 and FOCUS2 buttons on the remote control.
- FOCUS1: Adjusts the focus for the entire screen.
- FOCUS2: Adjusts the focus for the screen periphery.
Display Test Pattern 1 and adjust using the following procedure.
-
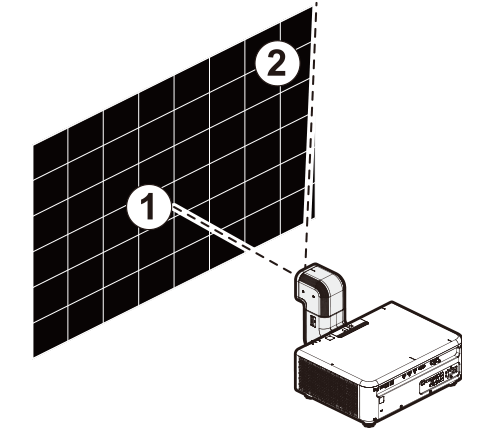
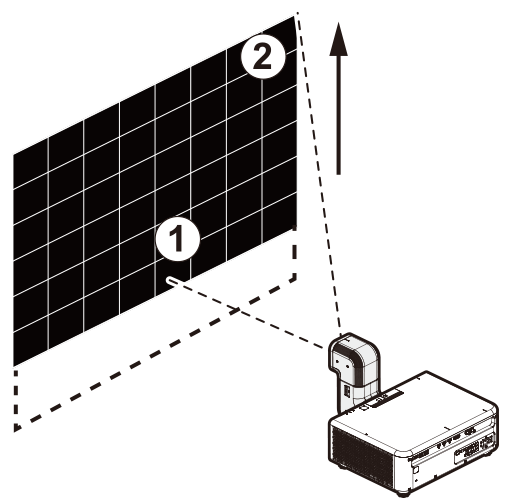
Use the FOCUS1 button to focus the entire screen (A).
Focus on the image at the “nearest position” between the lens and the screen.
-
Use the FOCUS2 button to focus the periphery (B).
Focus on the image at the “farthest position” between the lens and the screen.
-
Repeat StepAto adjust overall focus using the FOCUS1 button.
-
If you cannot achieve focus, repeat steps 1 through 3 to adjust the focus.
bNote
If adjusting by the above steps does not eliminate the focus difference around the screen, use the FOCUS1 button to adjust the focus around the screen within a range where the center of the screen is not heavily blurred.
When Lens Shift is at the Home Position
When Lens Shift is in the V (vertical) shift position
For the FP-ZL050
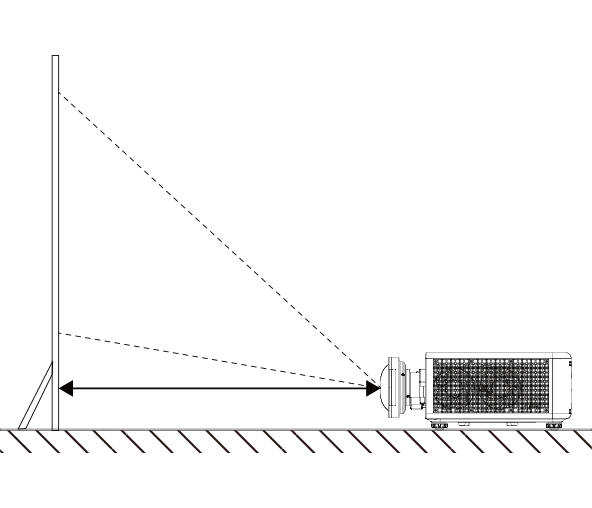
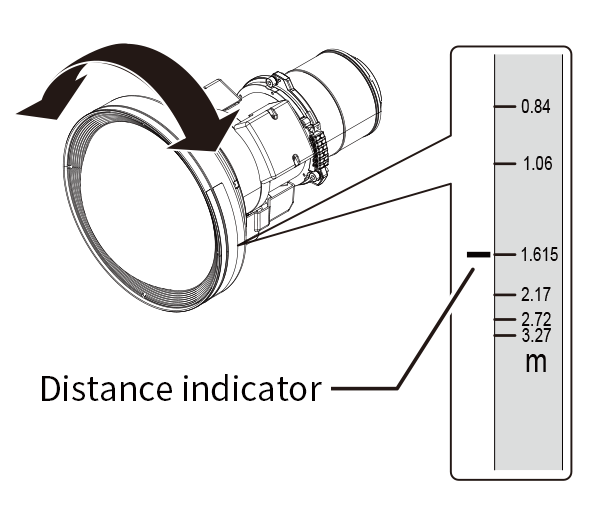
Before starting focus adjustment, rotate the floating ring (the part with the distance label) to align the lens distance indicator with the distance from the lens tip to the screen.
Use the FOCUS1 button on the remote control to adjust the overall screen focus.
Distance from the lens tip to the screen
Align the distance indicator
For the FP-ZL125
Use the FOCUS1 button on the remote control to adjust the overall screen focus.
Zoom Adjustment 
Adjust the size of the projected image. Display Test Pattern 1.
Before adjustment
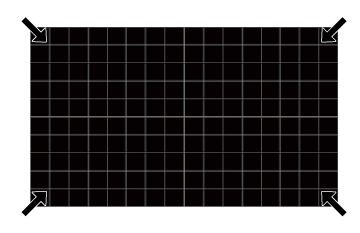
After adjustment
-
: Press the ZOOM button.
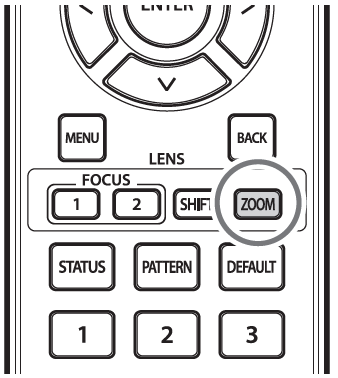
Remote control
: Press the ZOOM button on the main unit control panel.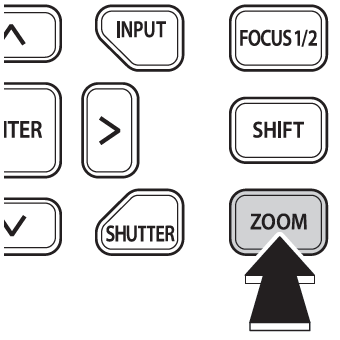
Main unit
-
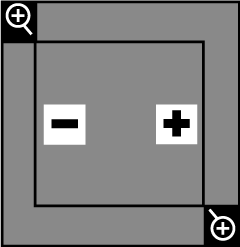
Use the left/right selector buttons to adjust the size of the projected image.
-
Press the BACK button to exit.
b Note
- Zoom adjustment can also be performed from the menu.
- Focus may shift slightly after zoom adjustment. Readjust the focus as necessary.
Installation Method Adjustment
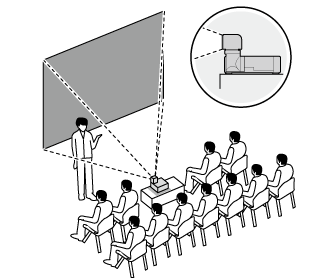
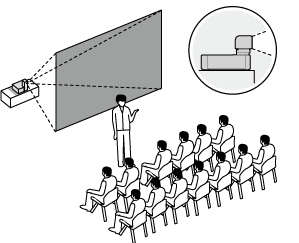
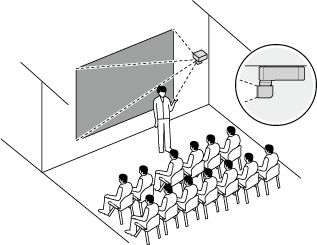
Set the installation method that matches the installation status of the projector and screen.
Select Front Table, Rear Table, Front Ceiling, or Front Ceiling from Projector Position in the display menu (aProjector Position).
Front Table
Rear Table
Front Ceiling
Rear Ceiling