 .
.Basic Operation
Before installing the projector, master the basics of its operation as described below.
-
Rotate the lens.
The lens can be rotated and is equipped latches for the arm and projector head. Rotate the lens as described below. Be sure to latch the lens while projector is in use.
dCAUTIONS
- Some portions of the projected image may not be visible depending on lens shift and the orientation of the lens.
- When rotated, the lens automatically returns to the previous shift position, causing the picture move. Do not rotate the lens while lens shift is in progress (i.e., while the image is moving).
- When rotating the lens, keep it supported and rotate it slowly.
- Pay attention to your surroundings when rotating the lens. Light from the product projected into the eyes could cause visual impairment.
-
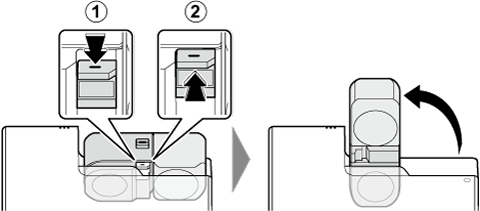
Rotating the Arm
When the arm latch is disengaged by pressing the arm latch release, the arm can be rotated 90°. Lift the latch release to latch the arm once more.
AUnlatch
BLatch
-
Rotating the Projector Head
When the head latch is disengaged by sliding the head latch release to the FREE position, the projector head can be rotated 360° in 90° increments.
AFREE position
BLOCK position
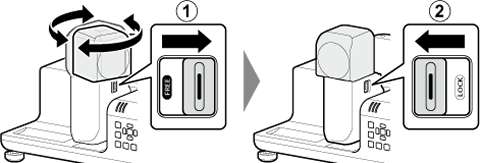
The lens can be rotated when the head latch release is in the FREE position and latches when the release is in the LOCK position.
dCAUTION
Do not return the arm to the storage position with the lens facing down. Failure to observe this precaution could scratch or break the lens.

-
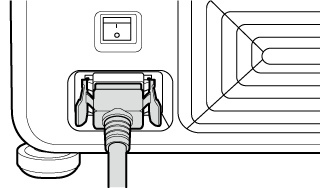
Attach the supplied power cord lock.
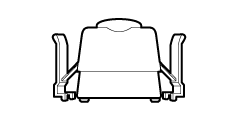
bTIP: THE POWER CORD LOCK
To prevent the power cord being disconnected, secure it to the projector using the supplied power cord lock.
-
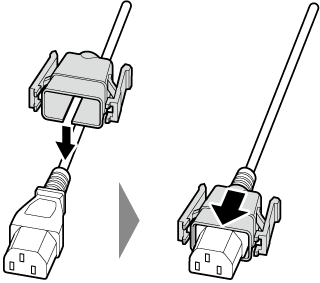
Connect the supplied power cord to the projector and plug it into a power outlet.
The cord is secure when you hear the tabs on the power cord lock click into place.
dCAUTION
Use the supplied power cord only. In addition, note that supplied power cord is for use exclusively with this product. Do not use the power cord with any other device or the projector with any other power cord.
bPower outlet
Use a three-pin socket.
-
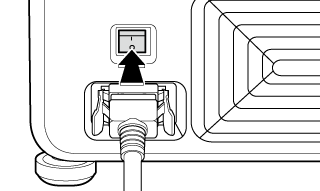
Turn the power switch on.
The projector will switch to standby mode. The indicator lamps will light or flash red.
-
Press the power button to turn the projector on.
The indicator lamps will light green. Projection will start after a brief pause.
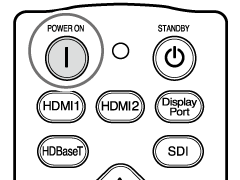
Remote control
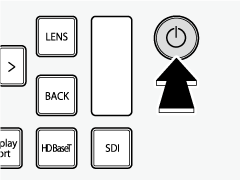
Projector
dCAUTIONS
- Do not look directly into the lens while the projector is on.
- The projector automatically switches to standby about three seconds after the lens is returned to the storage position.
-
Adjust projector settings.
For more information, see a “Positioning and Focusing the Image”.
Switching to Standby
Pressing the power button while the projector is on displays a confirmation dialog. Press the button again to switch the projector to standby. The cooling fan will turn off a few seconds later.
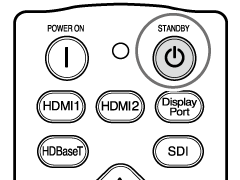
Remote control
Projector
The projector automatically switches to standby about three seconds after the lens is returned to the storage position.